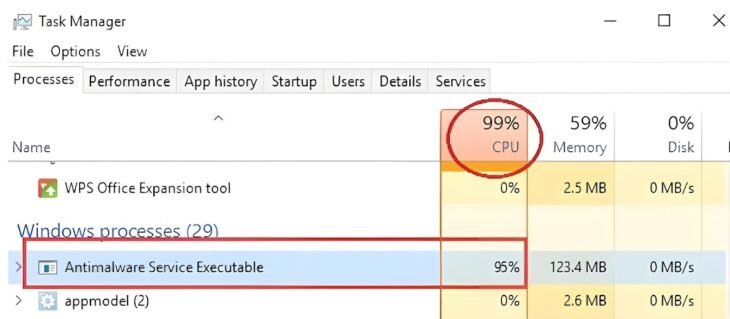
Hi everyone, I know many of you use Windows 10 like me and might be experiencing lag while playing games or running heavy applications. I want to tell you that lag isn’t only due to your games or heavy tasks—it’s often caused by the Antimalware Service Executable.
What is Antimalware Service Executable?
Antimalware Service Executable is a scanning service that checks all files for malware or viruses. Even if you turn off Windows Defender completely, this service continues to run in the background. While Windows Defender can be useful for detecting malware, if it’s completely turned off, Antimalware Service Executable will use a significant amount of CPU and memory without any benefit. That’s why, in this post, I’ll explain how you can disable Antimalware Service Executable easily. So let’s get started.
How to Disable/Turn Off Antimalware Service Executable?
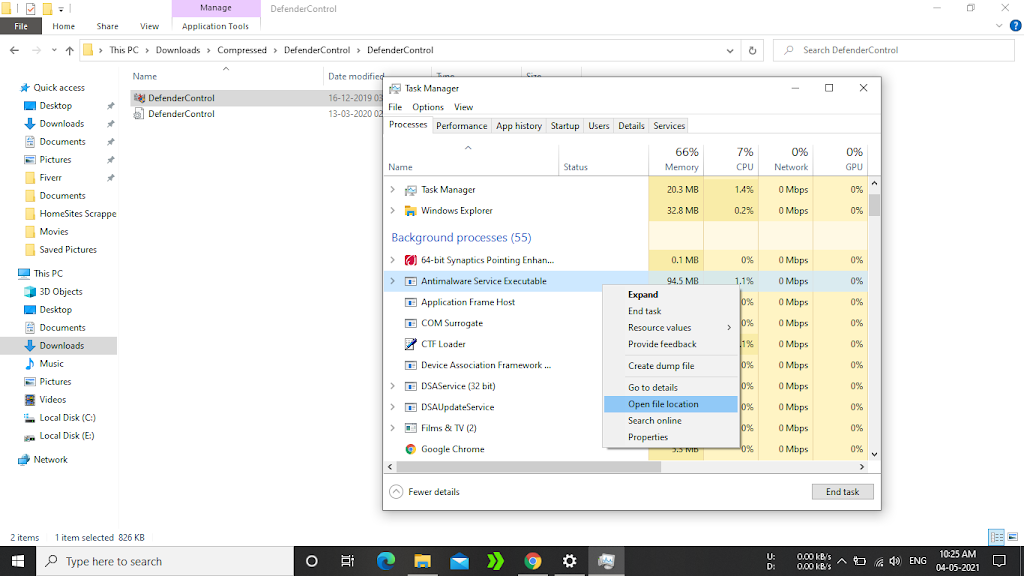
Step 1: Right-click on the Antimalware Service Executable process and click Open file location.
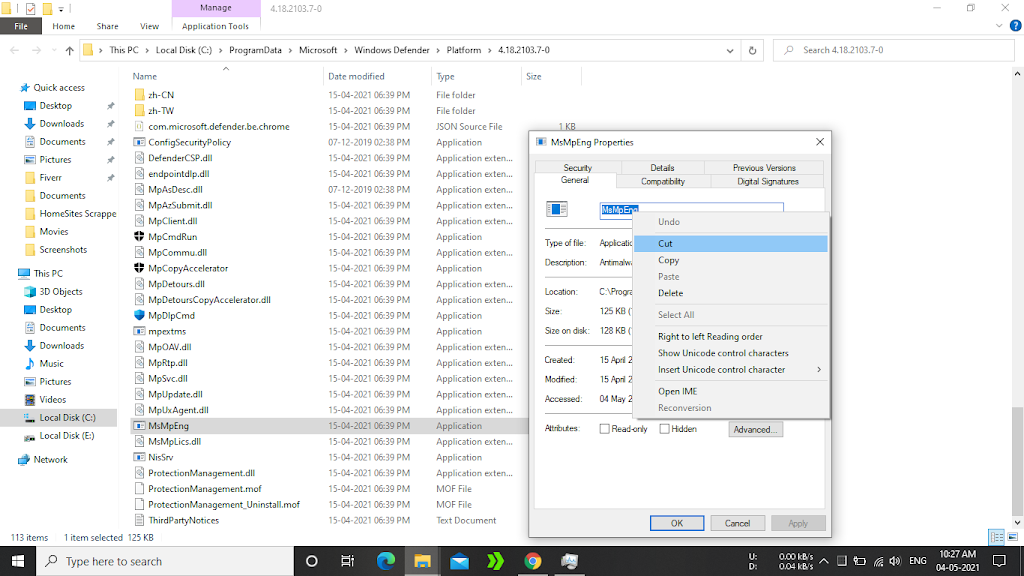
Step 2: Right-click on the file and click Properties. After that, copy its name.
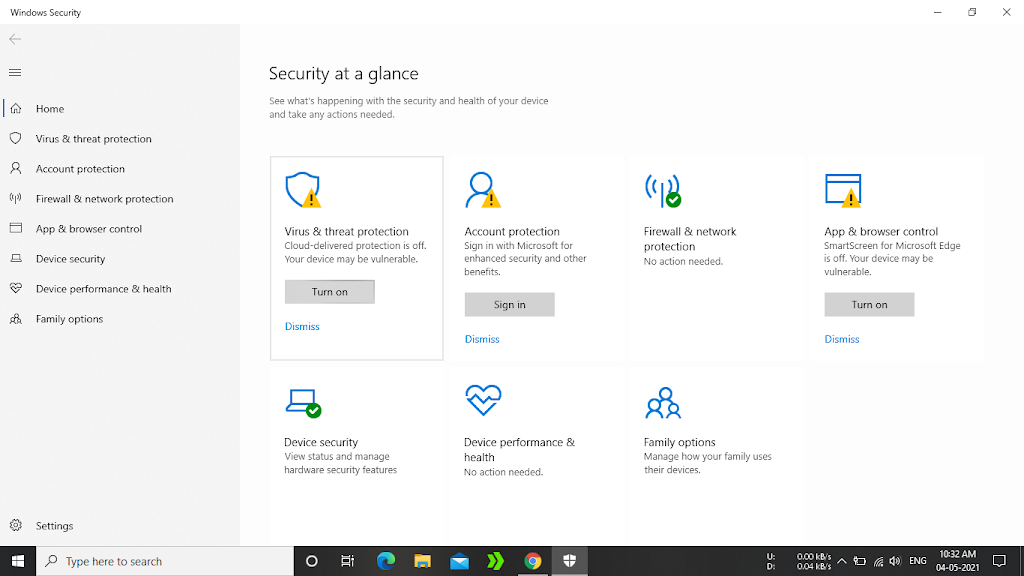
Step 3: Search for “Windows Security” in the Windows search bar and open the first link.
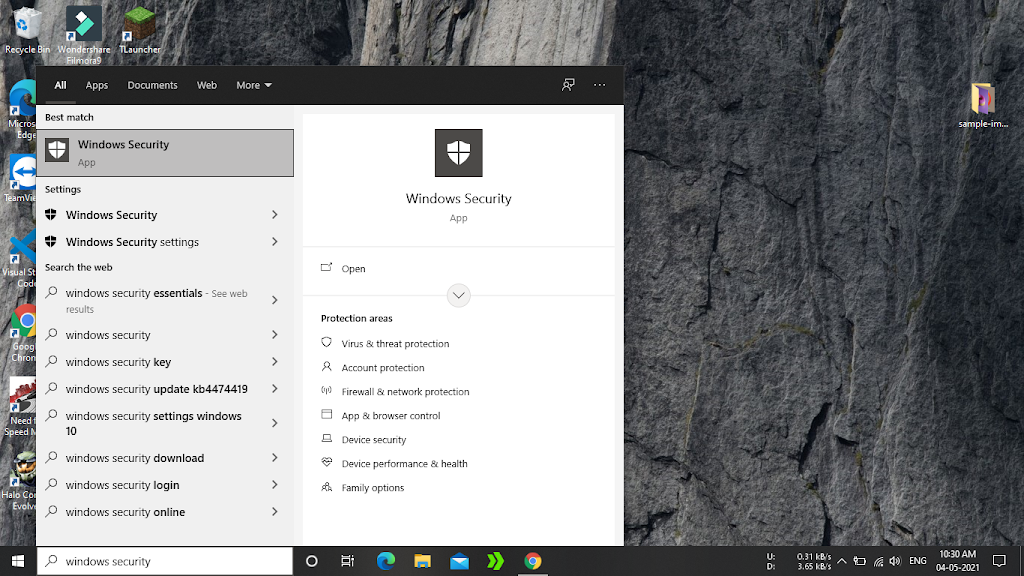
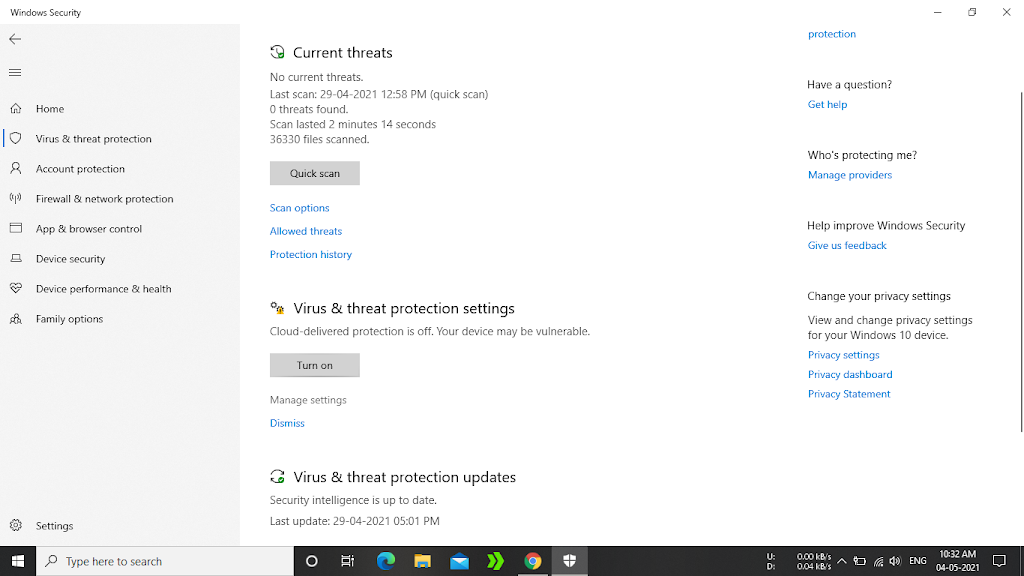
Step 4: Click on “Virus & threat protection”.
Step 5: Click on “Manage settings” under Virus & threat protection settings.
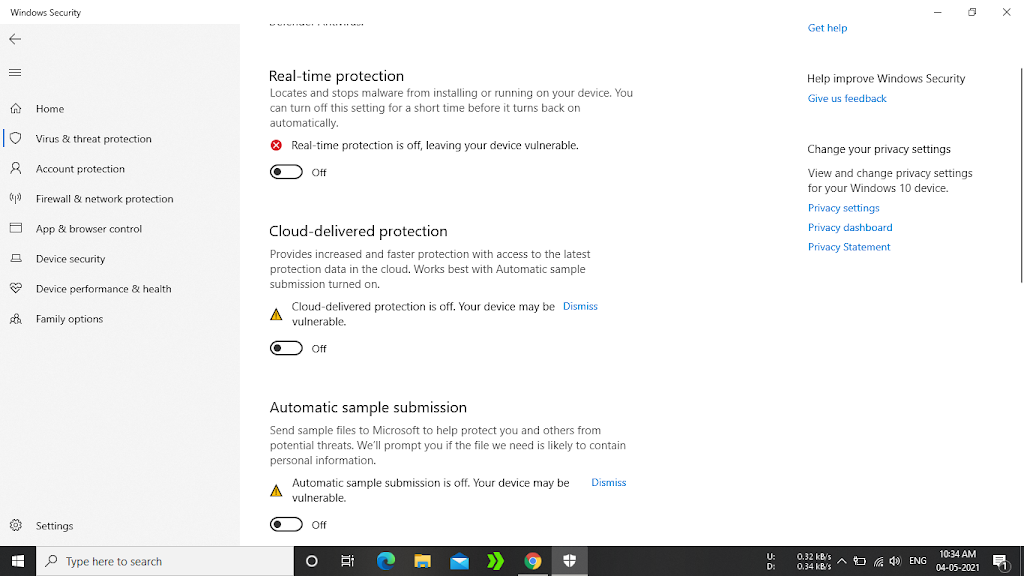
Step 6: Now turn off all three protection settings.
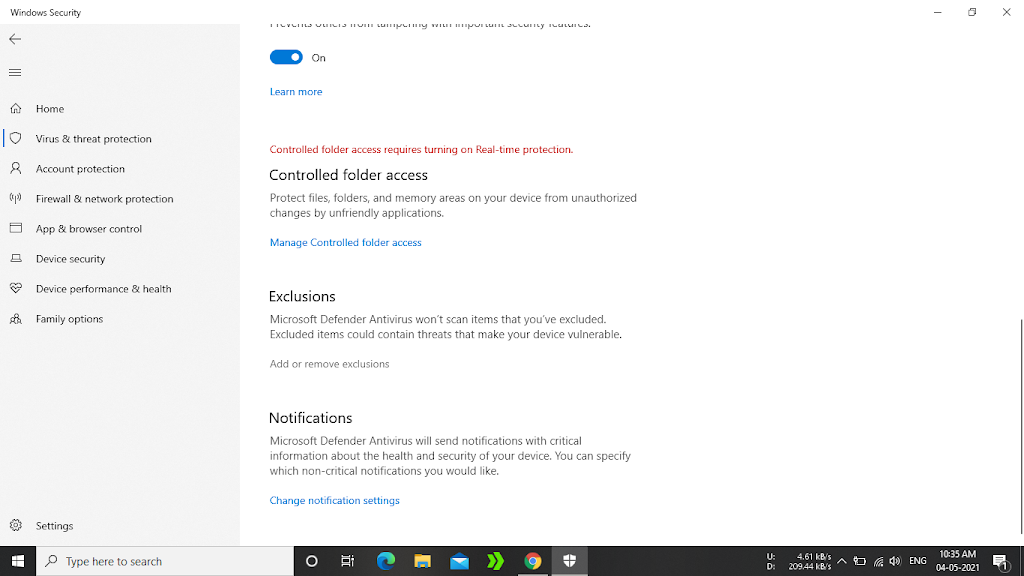
Step 7: Now scroll down and click on “Add or remove exclusions”.
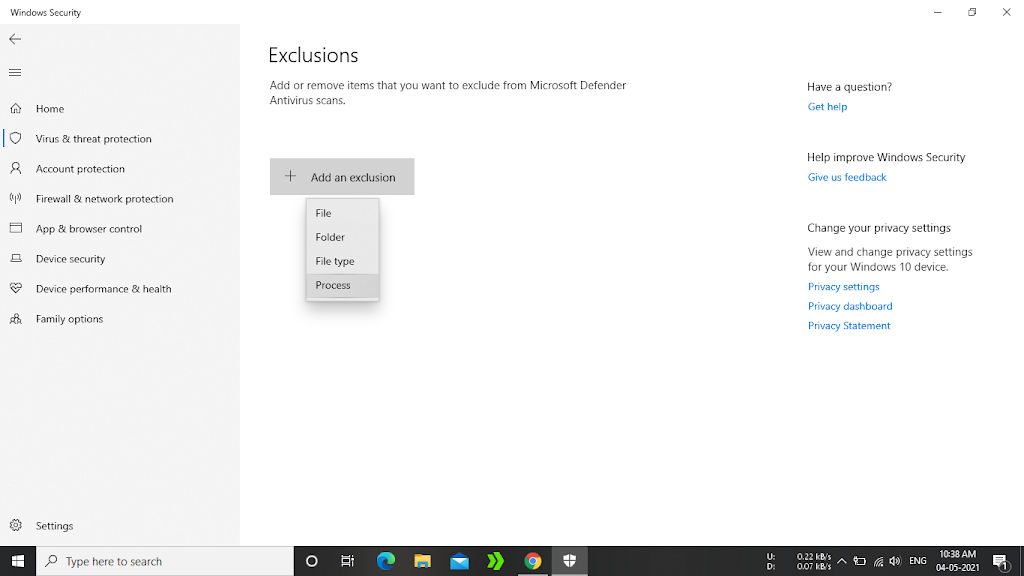
Step 8: Click on the “Add an exclusion” button and select “Process” from the dropdown.
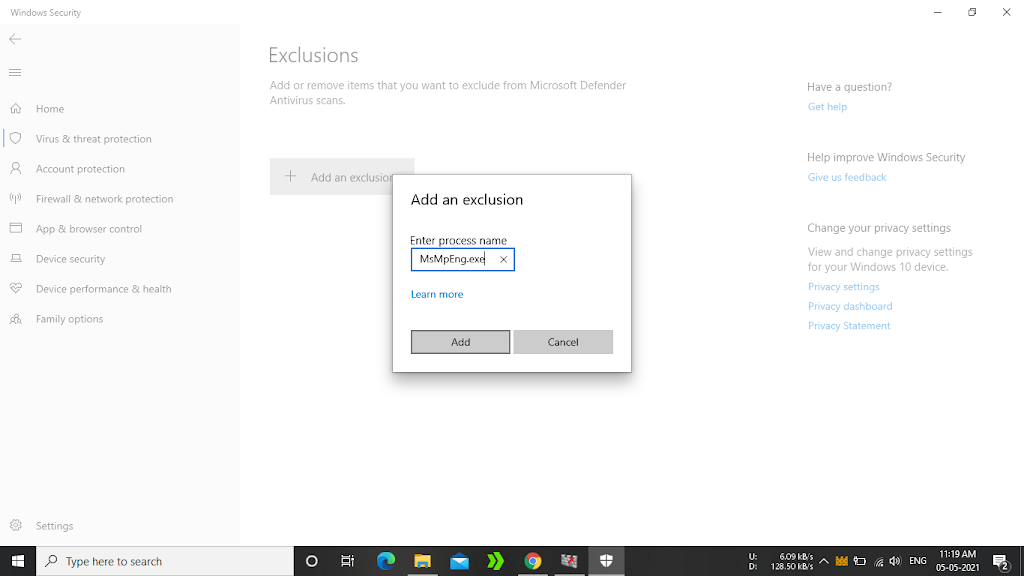
Step 9: Paste the process name you copied earlier, add .exe to it, and click Add.
Step 10: Download a File From the Link Given Below.
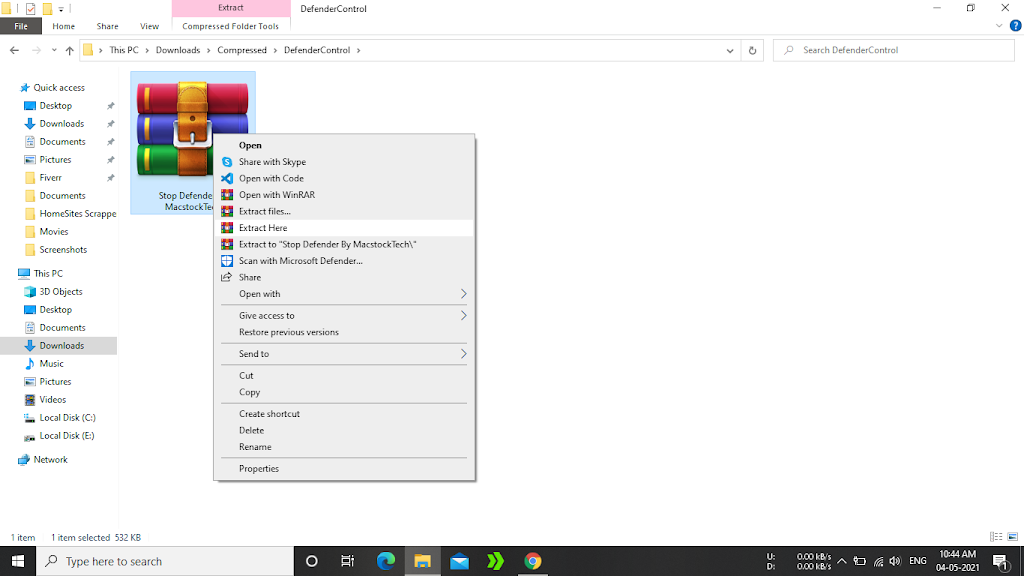
Step 11: Extract it Using 7zip or WinRAR.
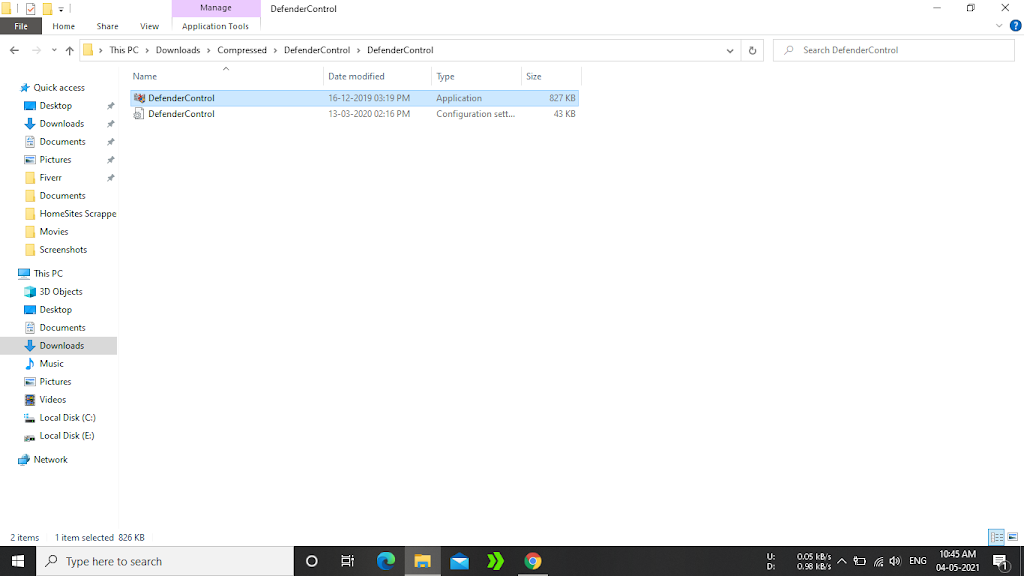
Step 12: Run “Defender Control.exe“.
Step 13: Click on Disable Windows Defender.
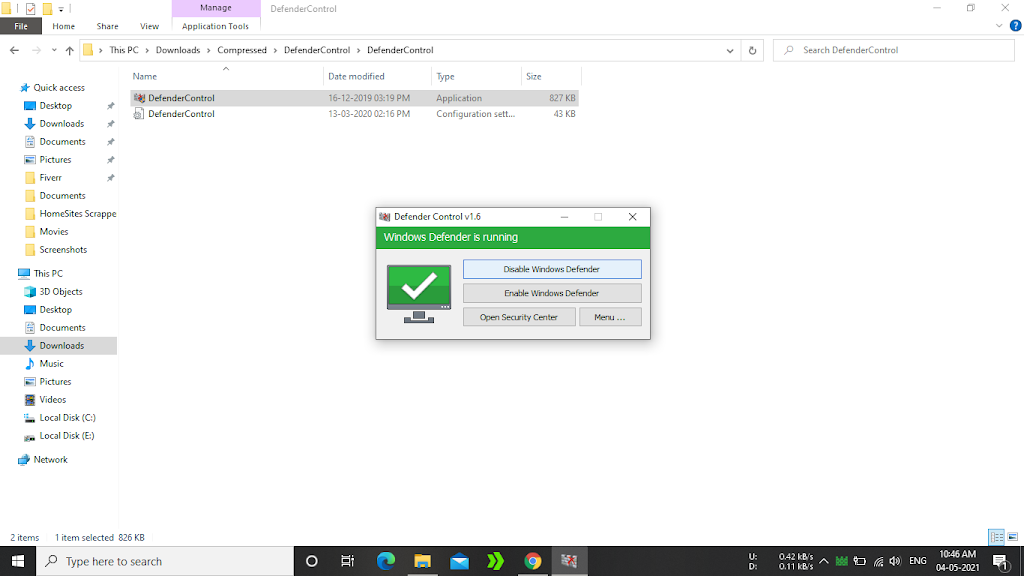
And Here you go, Antimalware Service Executable is now Disabled Permanently. Now you can enable it when you want by just clicking the enable button in the DefenderControl.exe. Now you can play games and run heavy applications and you will face less lag or freezing than before. Hope it helped you. Thanks For Reading 🙂